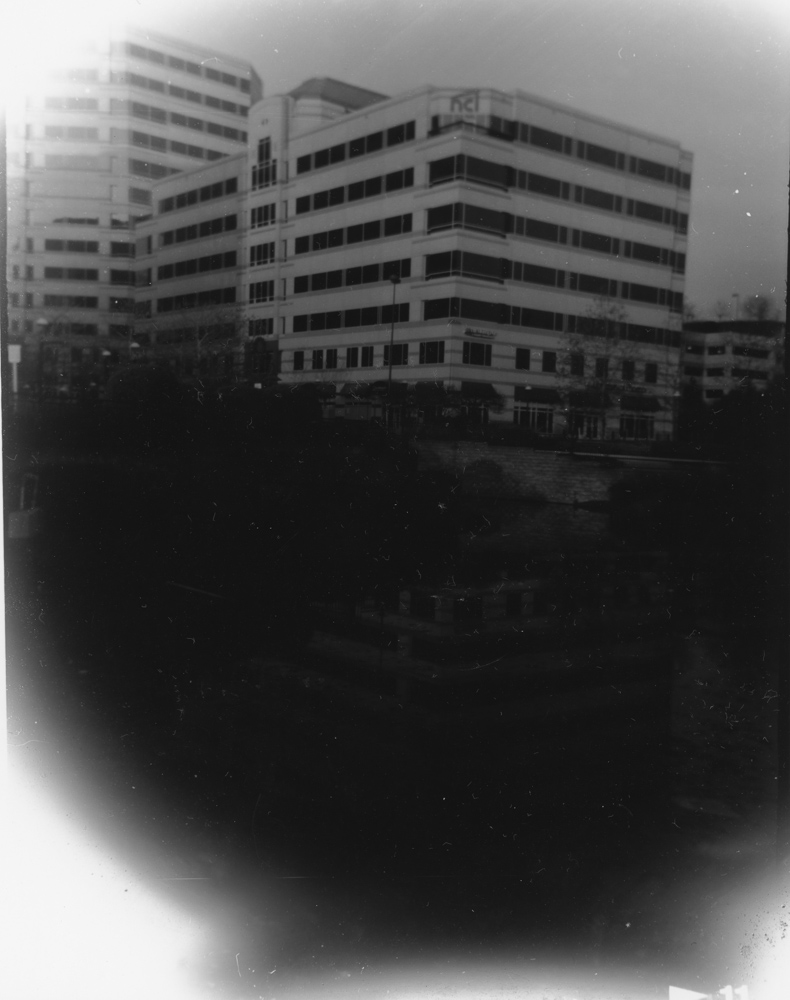
This is a print with the same enlarger exposure for the entire print..there was no dodging or burning
After I got some nice reactions on an image from my debonair (similar to holga) of a local office building and it’s reflection in a pond I decided I wanted to make an 8 1/2 x 11 print of it. I did the first test strip and it was all black….so I did another and settled on 8 seconds…well the top half of the print was OK, the bottom again was all dark. Decided at that point to freshen the developer just to be sure and tried six seconds…the same result.. At this point it was clear the bottom half needed to be dodged (covered for part of the exposure period so it gets less light than the top half.) Again, back to test strips. In this case I decided to put them down on the dark part to see how I should dodge it. After two or three additional tests I settled on 6 sec overall, dodge the middle of the lower half for 1 sec and the sides for 3. I was finally able to see detail on the bottom half of the print. This is an example of how basic darkroom techniques can be used to improve a print.