My First Roll of Film with the Nikon FG..

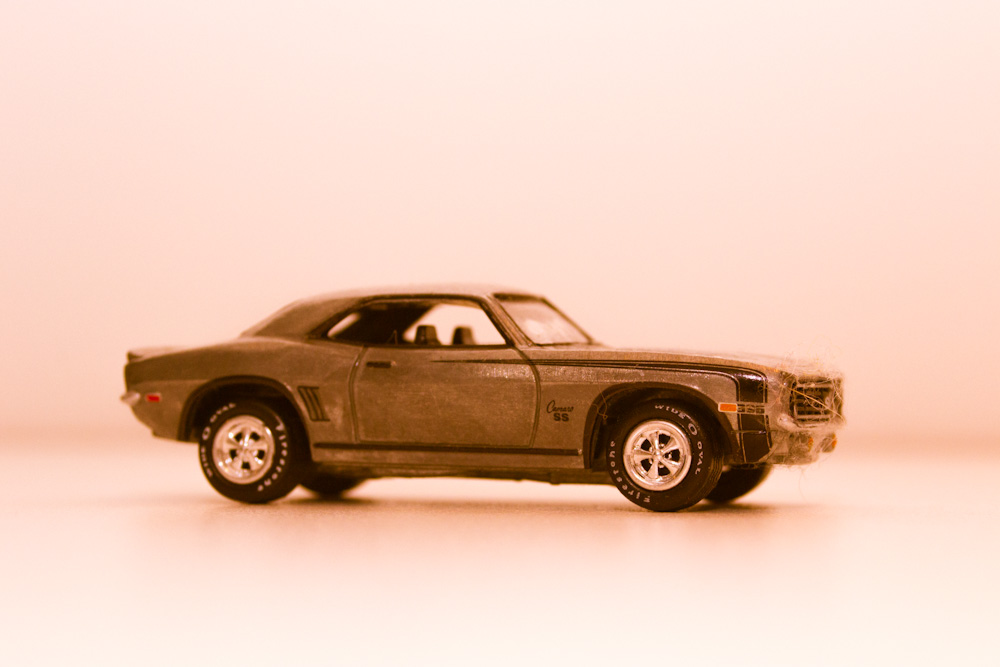
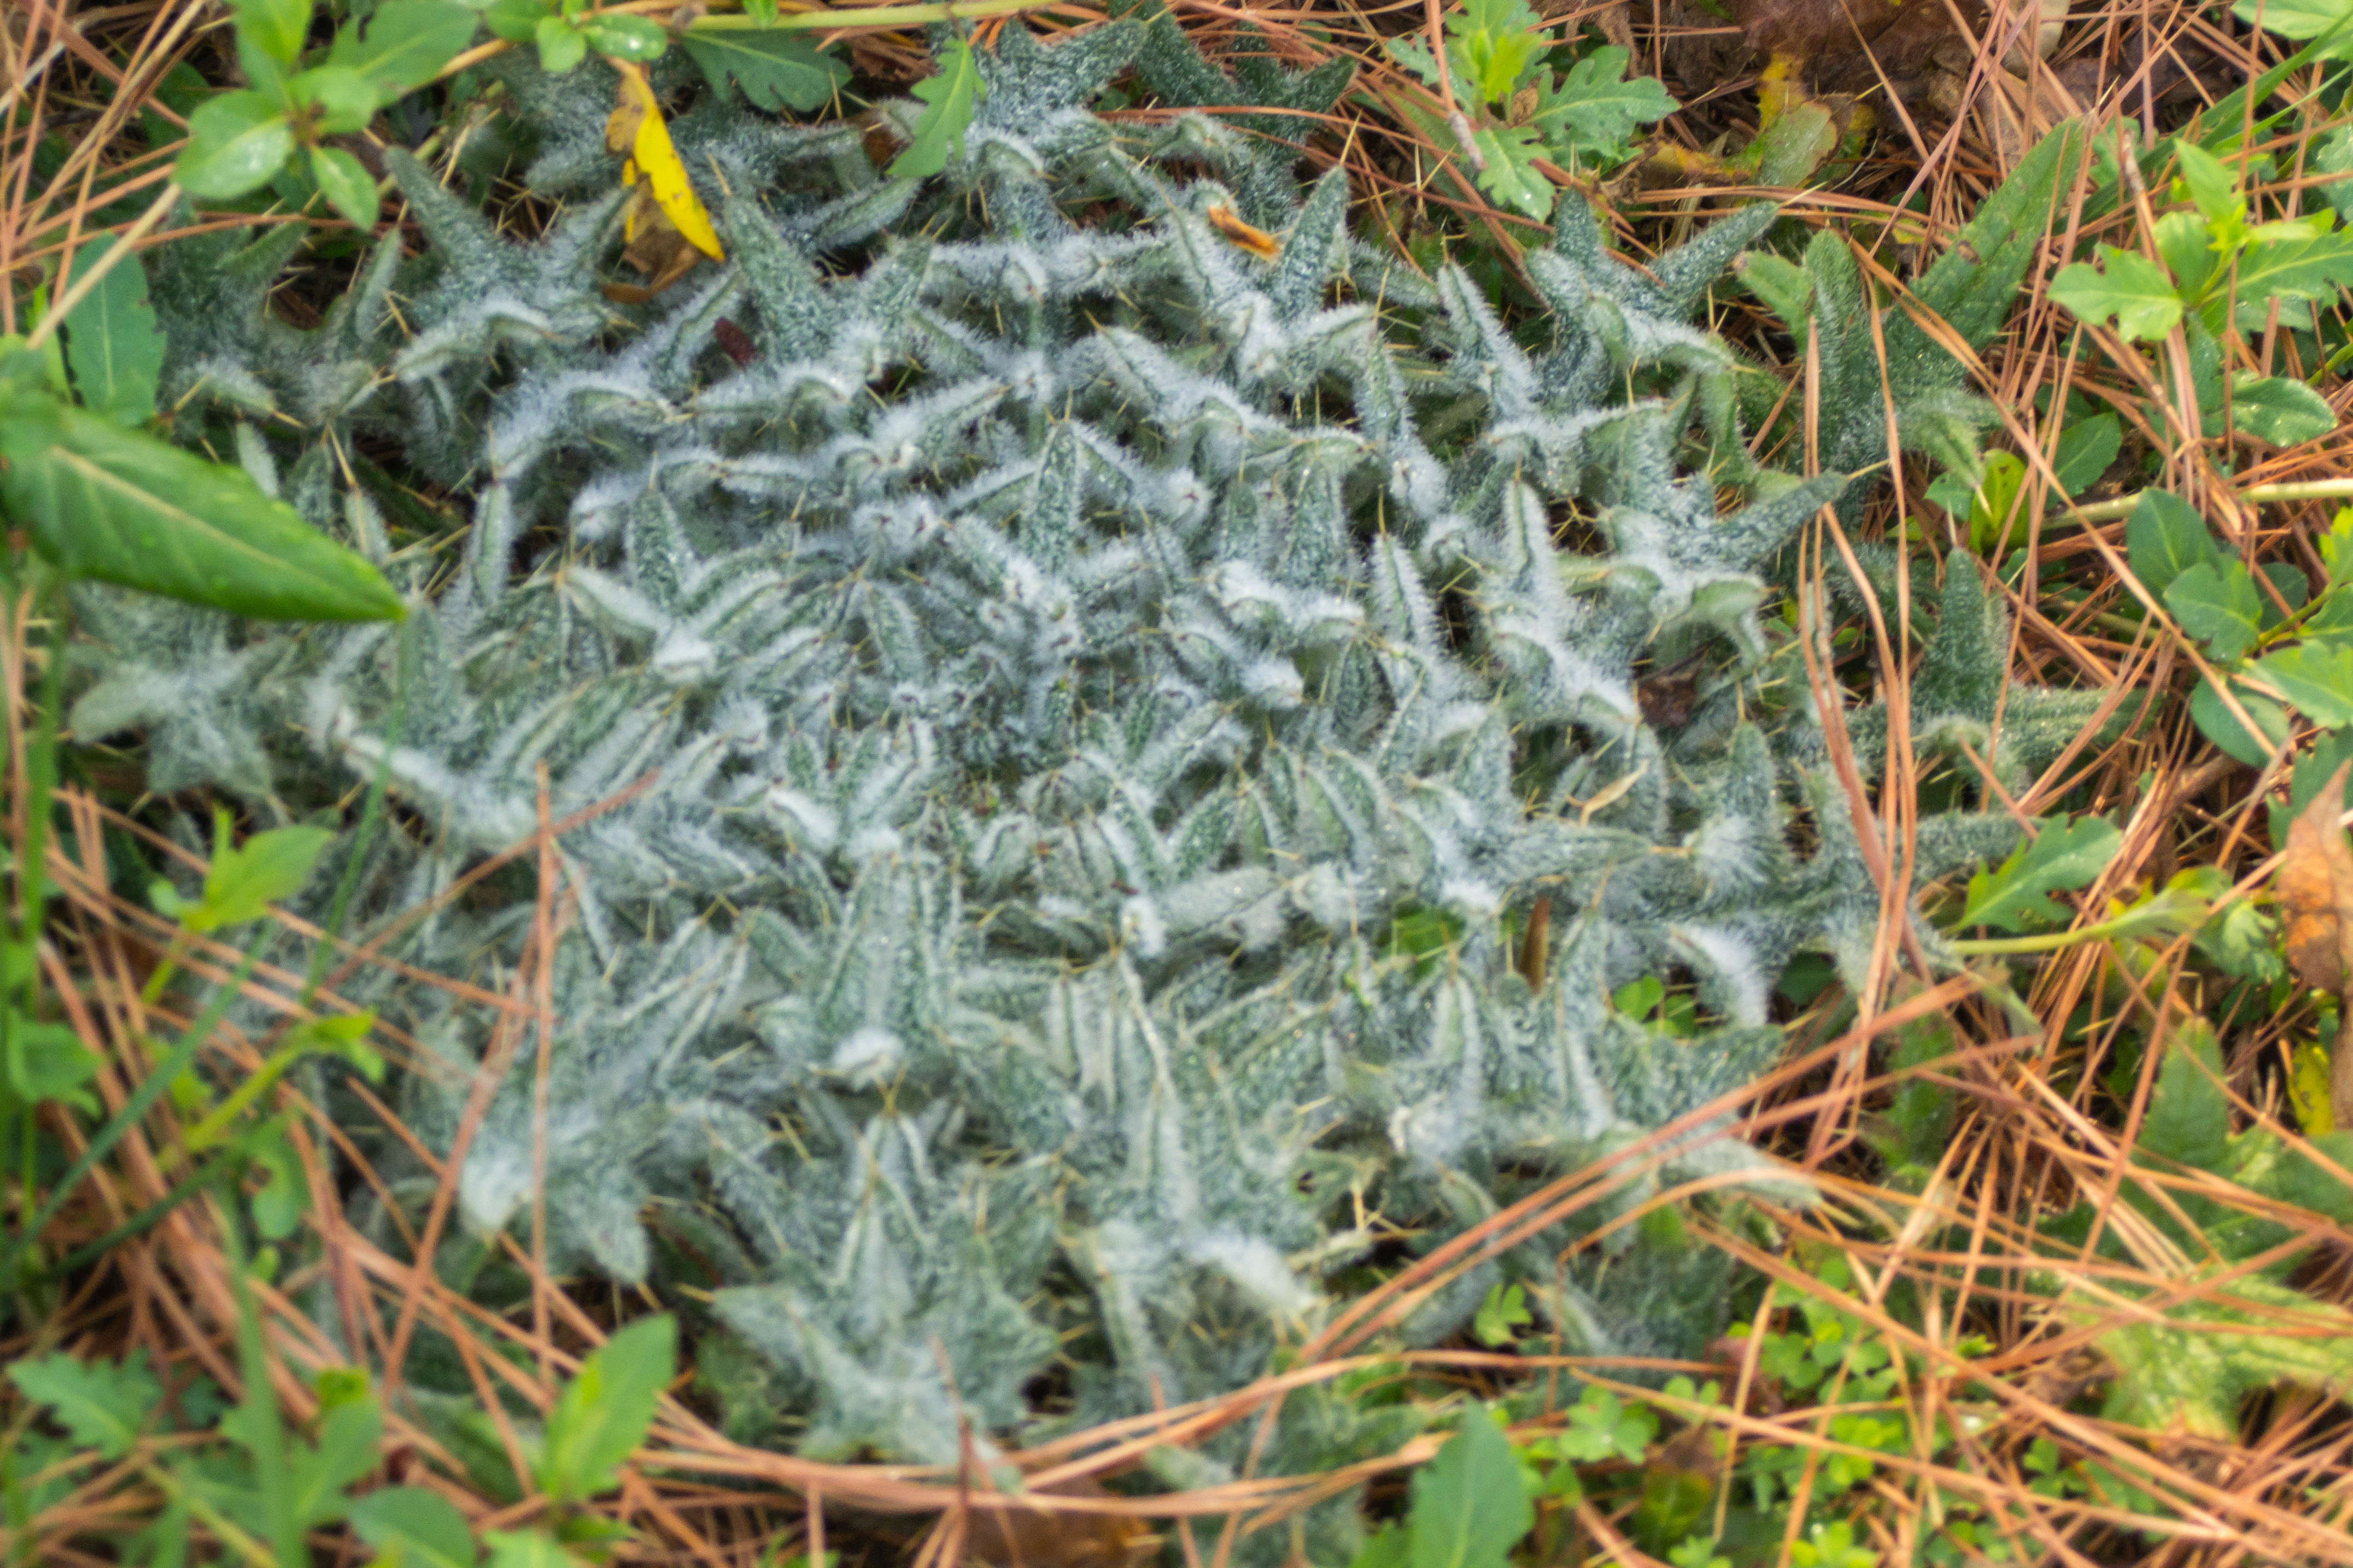
Well, I got the first roll back on Wednesday.   While there were some pictures I was quite happy with there was a problem.   The images seemed to have an odd cast and were not as sharp as I’d like.  The scans just didn’t look good.  After a lengthy tread on the APUG site (analog photography users group) we determined several possible issues..

1.  The film was off…it was sold to me directly in the canister without a box so it possibly could have been expired.

2. Processing…the odd color issues might be a result of an issue with the processing.  The place where I got it processed had some issues with their equipment that they were getting repaired…supposedly they were but you never know.

3. The scanner…I bought a cheap (< $100) consumer model that doesn’t seem to provide good results.

To solve these issues:

1. My next pack of color film (I’m shooting a B/W kodak TMAX 400 right now) will be a pro level film from a known vendor and I will send it out  to a know vendor since I don’t (yet) process C41 film.

2. I’m looking at a better scanner…the Epson models is what has been recommended to me.

Note that I just shot my second roll, a Kodak TMax 400 that I’ve processed …this will be the subject of my next blog post.

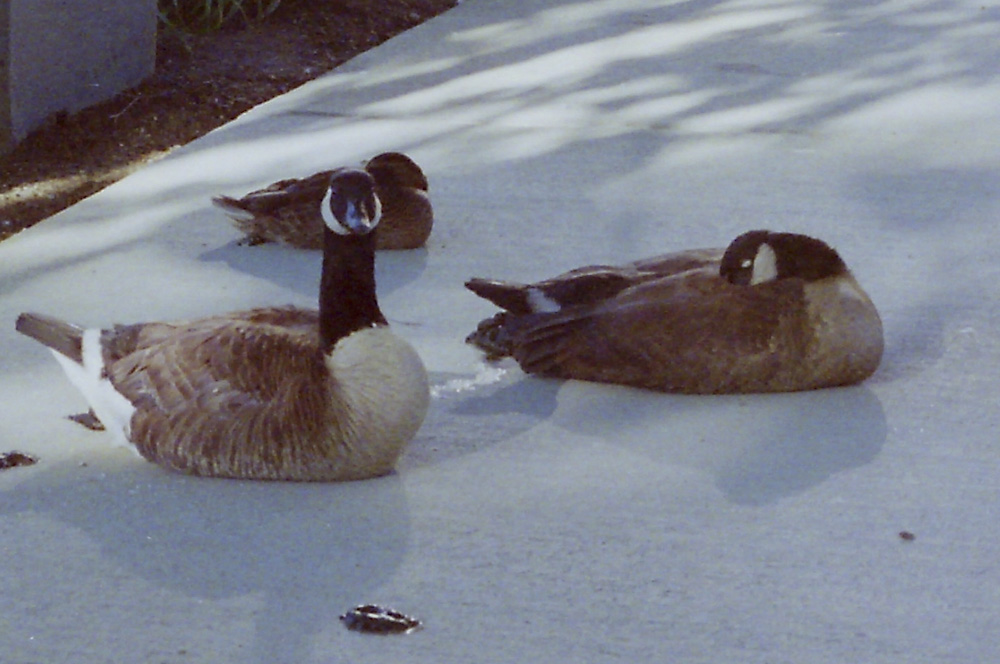
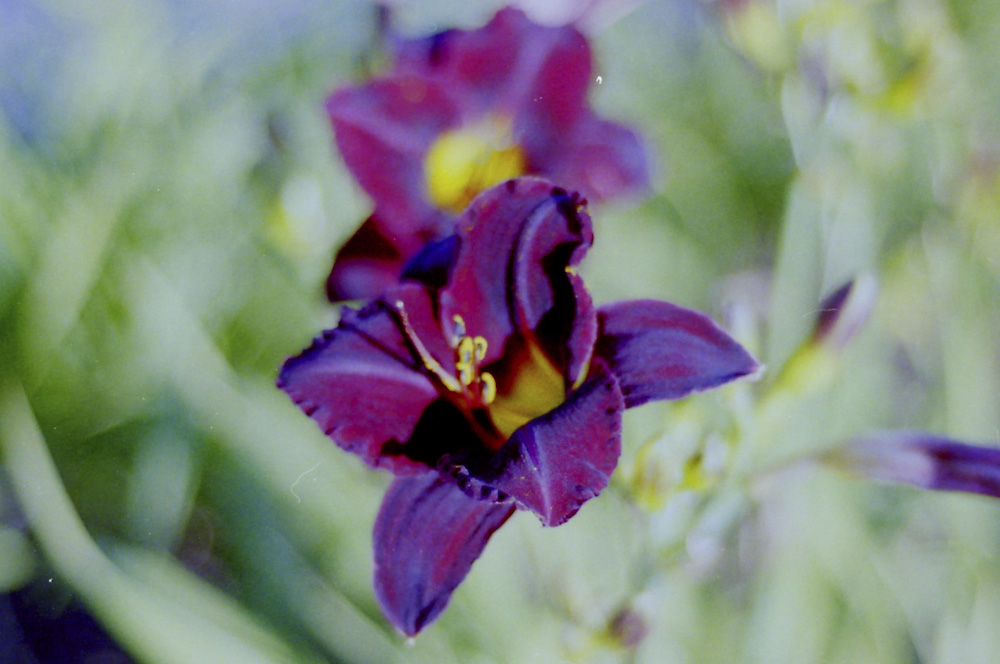
I’ve included 2 images so you can see for yourself.

Nikon FG camera

Earlier this week I  posted a video on my new (old) Nikon FG.  I got it a little over a week ago and just about finished my first roll of film.   It will be interesting to see what comes out of it 🙂  It’s relatively small and easy to carry around but it also appears to be extremely well built.    The FGs came out in the early 80’s…there is a nice wikipedia  article about the camera itself:

http://en.wikipedia.org/wiki/Nikon_FG

Since I made the video I also purchased the Nikon SB-15 flash that seems to work very well with it.    Once I have pictures developed I’ll be able to see how successful I’ve been with it.

If you have any interest in film/analog photography this camera is a good option.  One in good condition can be had for  < $100.  In the video I point out some of the “got-ya’s” that I ran into along the way.

Art Faire

On Saturday they held a fine arts fair at a local shopping area (outdoor mall designed to  recreate city streets.)   Anyway I focused mostly on the photographers and ended up purchasing  3 small prints from one photographer and another from a second. One thing I noticed is that all the fine art photographers I spoke to are film shooters.  There are things that can be done with film that can’t be done any other way.  Below are some of the pictures I took:


My weekend with “the beast”

The "beast" lens I rented

I decided to rent a Nikon 70-200 2.8 for a special event this past weekend…it’s now at Fedex headed home To put things in context the lenses I own are two kit lenses (18-55 and 55-200) and two manual focus sigmas (55-80 … lately my go-to lens, 80-300.)

A couple of differences I noticed…first how heavy the 70-200 is..huge difference from what I have..at 3.2 lbs it’s

Super moon captured with "the beast"

3x + the weight of the 55-200. Second how sharp it is….I was able to get some decent images of the moon Sat night…could practically see the “green cheese.”  I’m so used to shooting with the 28-80 manual sigma that I wish I had spent more time using the 70-200 to brush up on my AF familiarity.

I’m not sure where I go from here lens-wize. At this point since I’ve only gotten my camera in Dec and knowing that I tend to be a bit ADD with hobbies actually getting the 70-200 is not something for now. However, I am thinking at some point in the near future I’d like a non-kit AF lens…perhaps a prime…people seem to rave about the 50 1.4 and that’s way cheaper. I like shooting a variety of things so I’m not sure if primes are the best choice for me unless I eventually get several.

Anyway, I’m very glad I rented it as I got good results for a relative n00b and it was a good learning experience (in addition to making the people involved in the event happy ) I will say lens rental is a good option for special occasions and just trying out a costly lens before buying it.  I have to agree with a gentleman on one of the forums who said it’s hard to go back once you’ve used such a lens but for now it’s back to the sigmas and the nikon 55-200 3.5.

I went to do an errand and ran into a pack of Prancing Horses…

So the other week I had to do an errand at a local shopping area that is essentially designed as a “downtown.”  I decided to take my gear and I wanted to do some shooting.   Little did I know I’d run into this….dozen’s of Ferrari’s were being shown off by a regional Ferrari club…of course I took a number of images.

Playing with HDR..

I’ve been very impressed with the HDR work of Trey Ratcliff (www.stuckincustoms.com) and found the HDR effect in landscapes and cityscapes really added to the image for me personally.  This technique is particularly useful if you have a situation where part of the image is very bright and another part is much darker such as a landscape in bright sunlight.  I decided to experiment and see what I could do with the technique.  Now to try this you first need a software that processes images to create this effect.  The one Trey recommends is Photomatix.  He provides a discount on his site but you can try it free.   Anyway to show you what I did I have two images, the first is an image that had a decent exposure in camera that I processed in lightroom

The second image is a similar image using HDR….

In this case I used several images of varying exposure from way underexposed to way overexposed and processed them through Photomatix.  As you can see, the sky is a little less washed out and the trees and grass seem to pop more.   I personally like the look of HDR for landscape and cityscape pictures or even the inside of large inside spaces.  As a result of the experiments today I decided to purchase photomatix and plan to use it for these sorts of images in the future.

Trey has dozens of his images as well as info and tutorials on his site.  He is a master of HDR photography and his images, from all over the world, are amazing.

DSLR GURU PROFX … Interesting tool for Lightroom 4 (and 3)

I’ve been playing around with a set of presets that I learned about soon after getting Lightroom 4.  It’s called DSLR GURU PROFX and is available on http://www.dslr-guru.com.  What attracted me to it initially was that it was on sale for 9.99gbr (pounds) which is roughly $16 in USD.  It’s going up to double that on April 1.  Anyway, you get quite a lot for that …several sets of presets including simulating the looks of various films, xprocessing (simulating the effect of using the chemicals for one film on another) and a number of other things.  It also includes a number local adjustments.  While it’s true an experienced Lightroom user could reproduce these effects the value comes in for those that are less experienced in Lightroom or want to save time.  I can see myself using them in various situations and to get certain artistic effects.  Would I buy it at $30, probably not but for $16 I don’t think it’s a bad deal.  This deal lasts until 3/31.  Below is the same image with different presets included.  The first one is faded toning and the second one is xprocessing.

Photo Walk with Edie 3/17

I decided to take advantage of the day to take Edie out for a nice walk and bring my camera. I got 1/2 dozen images out of it which is in my flikr feed  http://www.flickr.com/photos/53227720@N04/

I have no idea exactly what this is but I thought it was cool


SB-700


So after being frustrated with the pop-up flash for a while I decided to finally get the SB-700 speedlight.   A couple of initial thoughts.  First, it feels heavier than I expected.  This is not an unsubstantial unit. In the box there is a case to store the unit, the unit itself, a diffuser and two color filters as well as a stand. It’s price, at $329 is reflective of  the fact it’s a serious piece of gear.  There are a lot of settings to learn but for starters I have been keeping it on TTL (through the lens) mode. I will say this makes a huge difference.  Because the unit head moves to various angles up and down and twists side-to-side you have many options in lighting your subject. By simply pointing the flash so the light bounces off the ceiling you avoid harsh shadows. The diffuser helps soften the light some more.  This unit comes with some colored “gel” covers which I haven’t experimented with yet.   In summary, a high quality  speedlight is  one of the first additional purchases you should make after you get used to your DSLR and initial lenses.  My next mission is trying to learn how to use it to it’s best advantage.

Notes from new camera experience video

1. My Experience
a. Started with online research…led to Canon T3i knowing Nikon D3100/D5100 as alternatives
b. Further research/discussion with people let to settle on the T2i
c. Decided to go to a store that would match on-line prices
d. After looking at the T3i, T2i and Nikon D3100 I went with the Nikon D3100
i. Fit my hands better
ii. Liked the interface
2. Mistakes I made
a. Bought UV filters…while they maybe useful in a dirty environment in general I haven’t used them
b. Bag too small…the salesman actually showed me a bigger bag rather than the one I first looked at but I should have gone bigger…that being said, my bag is a lowpro and I am very satisfied with the quality.
c. What I didn’t realize (and this a mistake I *avoided* by going to the store is that cameras all come with body caps and lenses with top and bottom lens caps.
3. Software – you can’t really take full advantage of your DSLR unless you’re shooting in “raw” format. Those images will have to be processed so you’ll need software.
a. Your camera may well come with basic software to read in raw files and process them
b. Adobe Photoshop elements is relatively inexpensive…good starting point
c. Adobe Lightroom is also very popular…big focus on workflow
d. Picassa – free. Not as powerful as adobe products but can be an excellent starting point
e. Gimp – also free..there is a plugin (UFRaw) that will read RAW files
4. Other items
a. Tripod
b. 3rd party camera strap
c. Cleaning implements

5. References
a. Youtube:
i. Jarad Polin (froknowsphoto)
ii. New to Photo
iii. Adam Lerner
iv. Photo Extremist
b. Books:
i. Complete Digital Photography (Ben Long) – good general overview on a variety of basic topics.
ii. Digital Photography (Scott Kelby) – a very popular book..I’ve looked at it briefly and it has a lot of information, in particular info on specific shooting situations